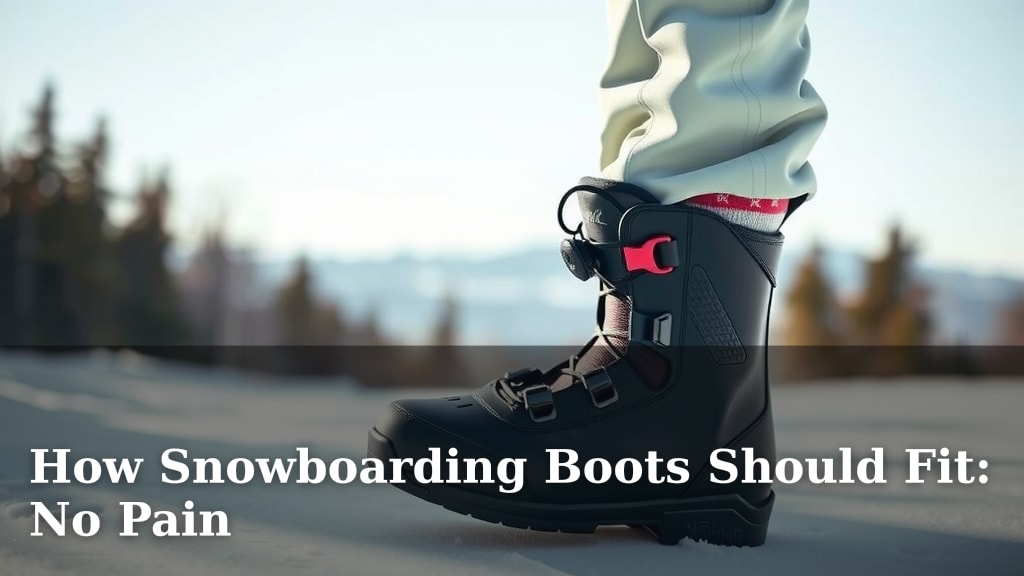
How Snowboarding Boots Should Fit: No Pain
Your snowboarding boots should fit snugly but not painfully. A properly fitting boot feels like a firm hug around your foot and ankle, with no heel lift or toe bang. You want to feel secure and supported without any pinching or pressure points that could ruin your day on the slopes. Finding that sweet spot ensures comfort and better control.
Wearing boots that are too tight or too loose can lead to serious discomfort and even injury. We found that ill-fitting boots can cause blisters, numb toes, and reduced performance. It’s essential to understand how your boots should feel from the moment you try them on. This guide will help you achieve that perfect, pain-free fit.
- Snug, but not painful.
- No heel lift or toe bang.
- Firm hug around foot/ankle.
- Secure and supportive feel.
- Avoid pinching or pressure.
Let’s get your feet feeling fantastic on the mountain. Below, we’ll walk you through exactly how your snowboarding boots should fit, so you can enjoy every run.
Getting the Perfect Snowboard Boot Fit: Your Guide to Happy Feet
Finding the right fit for your snowboard boots is more important than you might think. We found that ill-fitting boots are a leading cause of discomfort on the mountain. This can range from annoying blisters to painful numb toes. A properly fitted boot not only prevents pain but also helps you control your snowboard better. It’s like the difference between wearing a comfy slipper and a stiff dress shoe.
Understanding Snowboard Boot Sizing
Snowboard boot sizing can be a bit confusing. They don’t always match your regular shoe size. Many manufacturers recommend sizing down a half or even a full size from your street shoes. This is because snowboard boots need to be snug to function correctly. We recommend you always try them on if possible. Don’t just grab the size you think you are.
How to Measure Your Foot for Snowboarding Boots
When you’re ready to measure, stand on a piece of paper. Make sure your weight is evenly distributed. Trace around your foot with a pen or pencil. Hold the pen straight up and down. Measure the length from your heel to the longest toe. Also, measure the width at the widest part of your foot. Many boot manufacturers provide sizing charts based on these measurements. Use them as a starting point.
The “Melt Down” Method: What to Expect
When you first put on new snowboard boots, they might feel a little too tight. This is normal. Most snowboard boots are designed to pack out slightly and mold to your foot. This process is often called “melting down.” We found that over the first few days of riding, the liners will compress. They will create a more personalized fit. So, don’t be alarmed if they feel a bit snug initially. That snugness is what you want for optimal performance.
Putting On Your Snowboard Boots: The Right Way
Getting your boots on correctly is step one to a good fit. Loosen all the laces or Boa dials completely. If your boots have straps, loosen those too. Slide your foot in, making sure your heel is all the way back. Your heel should feel settled in the heel pocket of the boot. This is a critical first step. If your heel isn’t back, the rest of the fit will be off.
Lacing and Tightening: The Art of the “Firm Hug”
Now, it’s time to lace or tighten. You want a snug, even fit. Start from the toe and work your way up. Ensure each section is firm but not painfully tight. For laces, pull them evenly. Don’t overtighten one section while leaving another loose. If you have Boa systems, tighten them gradually. You should feel a consistent pressure all around your foot and ankle. The goal is to eliminate any dead space. This prevents your foot from sliding around inside the boot.
What “Too Tight” Feels Like
If you feel any sharp pinching or immediate numbness, your boot is too tight in that spot. This is a sign of a pressure point. Research has shown that these points can lead to nerve compression. It will make your foot go numb quickly. You might also feel pain in specific areas. Don’t try to “ride it out.” This is a clear indication that the boot is not the right shape or size for your foot.
What “Too Loose” Feels Like
Conversely, if your foot slides around inside the boot, it’s too loose. You’ll likely experience heel lift. This means your heel comes up out of the boot when you flex forward. We found that heel lift causes a lot of friction. This leads to blisters. It also significantly reduces your control over the snowboard. You won’t be able to transfer energy effectively to your board.
Testing the Fit: What to Feel For
Once your boots are on and tightened, it’s time for the real test. Stand up and flex your knees forward, mimicking a riding stance. Do this for at least 5-10 minutes. Walk around a bit, too. Pay close attention to how your feet feel. We found that this “walking test” is essential for identifying issues before you hit the slopes.
The Toe Bang Test
With the boots unlaced or loosened slightly, slide your foot forward until your toes just touch the front of the boot. Then, try to slide a finger down the back of your heel. If you can easily slide your finger all the way down, the boot might be too big. Now, lace them up snug. Flex your knees forward again. Your toes should pull away from the front of the boot. They should not be jammed against the front. If you feel your toes being pushed or banged against the front, especially when flexing, it’s a problem. This “toe bang” is a common issue. Many riders experience it with boots that are too long or too roomy in the toe box.
The Heel Lift Test
While standing, try to lift your heel straight up out of the boot. It should not lift significantly. Ideally, your heel should stay firmly planted. There might be a tiny bit of movement, but no major lift. Another way to test this is to walk around. Try walking up a small incline if you can. Notice if your heel slips or lifts. A secure heel lock is vital for ankle support and control. Many boot manufacturers use specific lacing techniques or features to enhance heel hold. We found these features make a noticeable difference.
Pressure Points and Hot Spots
Are there any specific spots that feel like a sharp pinch or a hot, burning sensation? These are pressure points. They are often caused by the boot’s construction or an improper fit for your foot’s anatomy. Common areas include the top of the foot, the sides of the ankle, or the Achilles tendon. Many experts say that persistent pressure points can lead to discomfort that ruins your day. Some specialized boot fitters can help address minor pressure points with heat molding or padding, but severe issues mean a different boot is likely needed.
The Ideal Snowboard Boot Fit Checklist
Here’s a quick checklist to ensure your boots fit correctly:
- Your toes may lightly brush the front when your foot is flat.
- When flexed forward, your toes pull away from the front.
- Your heel feels locked in place with minimal or no lifting.
- The boot provides a firm, supportive hug around your foot and ankle.
- There are no sharp pinching pains or immediate numbness.
- You can stand comfortably for at least 5-10 minutes without discomfort.
When to Seek Professional Help
If you’ve tried on several pairs and still can’t find a comfortable fit, don’t get discouraged. Consider visiting a specialty snowboard shop. They often have experienced boot fitters. These professionals can measure your feet precisely. They can also assess your foot shape and gait. Sometimes, a simple adjustment or a different lacing method can make all the difference. In other cases, they might recommend specific boot models known for certain foot shapes. They can also help with custom insoles. These can improve support and comfort significantly. Many sources agree that investing in a good fit saves pain later (National Ski Patrol).
Conclusion
Finding the right snowboard boot fit is all about achieving that perfect balance. You want a snug, supportive feel, like a firm hug, without any painful pressure points. Remember to size correctly, paying attention to how your toes and heel behave when you flex. A proper fit means no toe bang and no heel lift, which translates to better control and more fun on the mountain. Don’t settle for discomfort! Your next step is to try on boots with confidence, using these tips to guide you toward happy, pain-free riding.
Frequently Asked Questions
Can I just buy the same size snowboard boot as my street shoes?
Not always. We found that snowboard boot sizing can differ from your regular shoes. Many manufacturers recommend going down a half or even a full size for a snug fit. It’s best to measure your foot and always try boots on if you can.
How long should it take for my new snowboard boots to feel comfortable?
New boots might feel a bit snug at first; this is normal. This “melt down” process allows the liner to pack out and mold to your foot over the first few days of riding. If they feel painfully tight or cause immediate numbness, they might not be the right boot for you.
What if my toes touch the front of the boot when standing flat?
This is often okay. When your foot is flat, your toes might lightly brush the front. The key is that when you flex your knees forward into a riding stance, your toes should pull away from the front. If they’re jammed forward when flexing, it’s likely too small or the wrong shape.
How can I tell if my heel is lifting too much?
Try lifting your heel straight up out of the boot. It shouldn’t lift significantly. Another test is to walk around; notice if your heel slips or lifts with each step. Persistent heel lift causes friction, leading to blisters and reducing your board control.
What should I do if I feel a sharp pinch or pressure point?
A sharp pinch or hot spot is a clear sign of a pressure point. This usually means the boot isn’t the right shape for your foot. While minor adjustments can sometimes help, persistent pain indicates you should look for a different boot model or consult a professional boot fitter.